
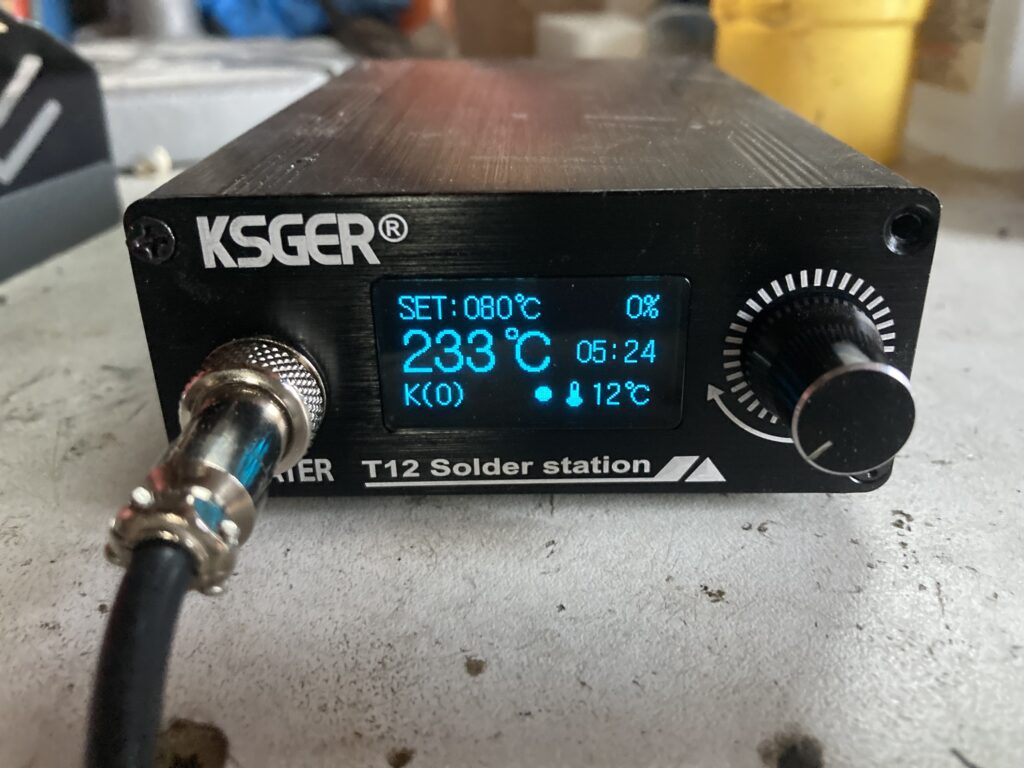
I recently bought the KSGER V3.1S T12 soldering station from what I believe is the official distributor on aliexpress. The soldering station works like magic, it heats up in seconds saving me a lot of time compared to a soldering iron wand. I can flip the switch on the back of the box and I can start working almost immediately! But I was disappointed when I noticed one of my most wanted features was not working. Looking back I believe that this version (V3.1S) was not supposed to be marketed with having the shake switch functions, but It was anyway, probably on accident.
Problem
The PCB in the handle has the shake switch electrically connected incorrectly. One end is connected to somewhere on the control board. But the other is connected the earth (PE on the PCB). The control board uses a common ground separate from “PE” on the power supply board. This means no matter what position the shake switch is currently in, the control board cannot read it.
Solution
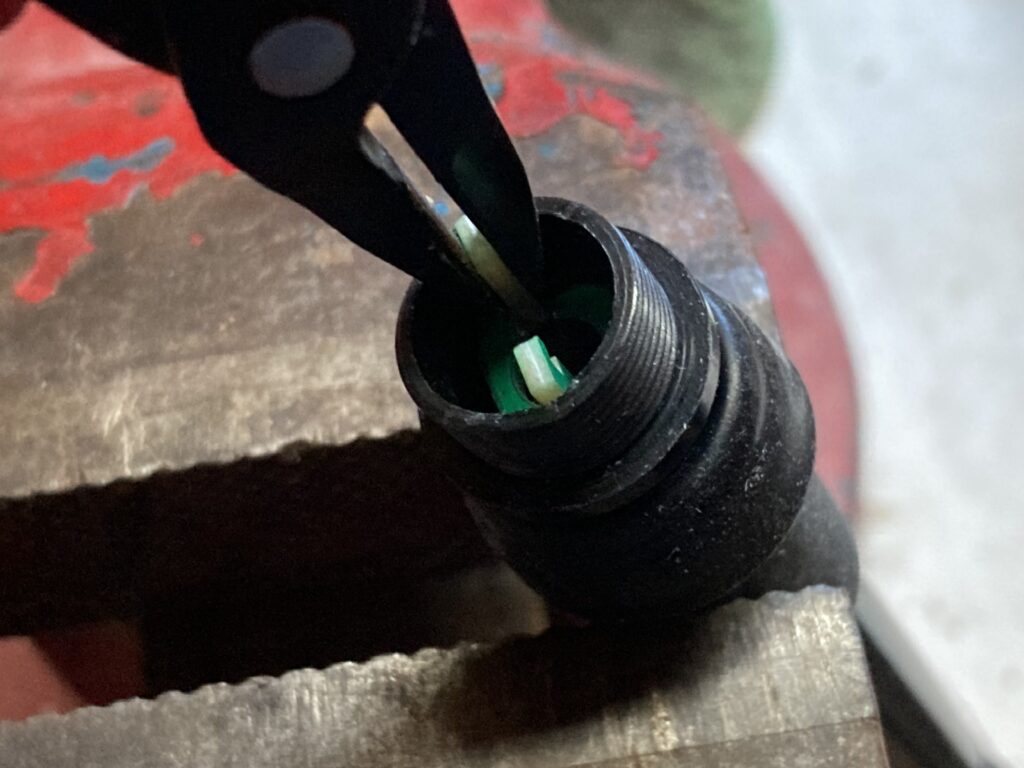
Unfortunately if this is your only soldering iron, It may be hard or not possible to make this repair. What you need to do first is unscrew the top of the handle, and carefully pull the PCB assembly out. You can use pliers to pull on the top edge of the PCB, it should not take much force.
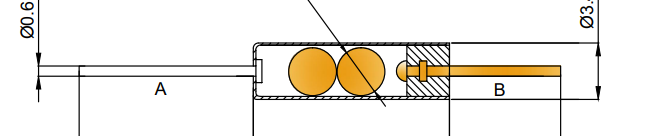
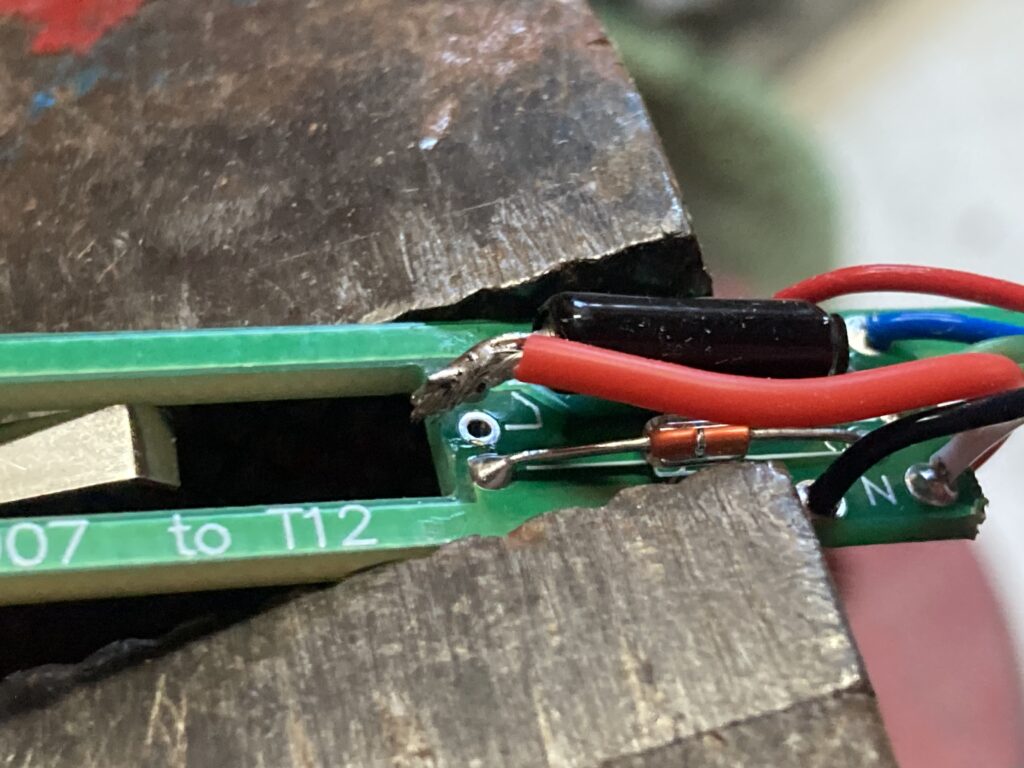
After you have removed the PCB assembly, you can locate the small black cylinder near the cable. This is the shake switch. If you shake it, you can hear the small balls moving around inside. It has two leads sticking out of either end. One is connected to the blue wire (S) through the PCB and the other is connected to the green wire (E) through the PCB. The lead connected to the green wire (E) should not actually have a connection. It should instead be connected to the black wire (T12-).
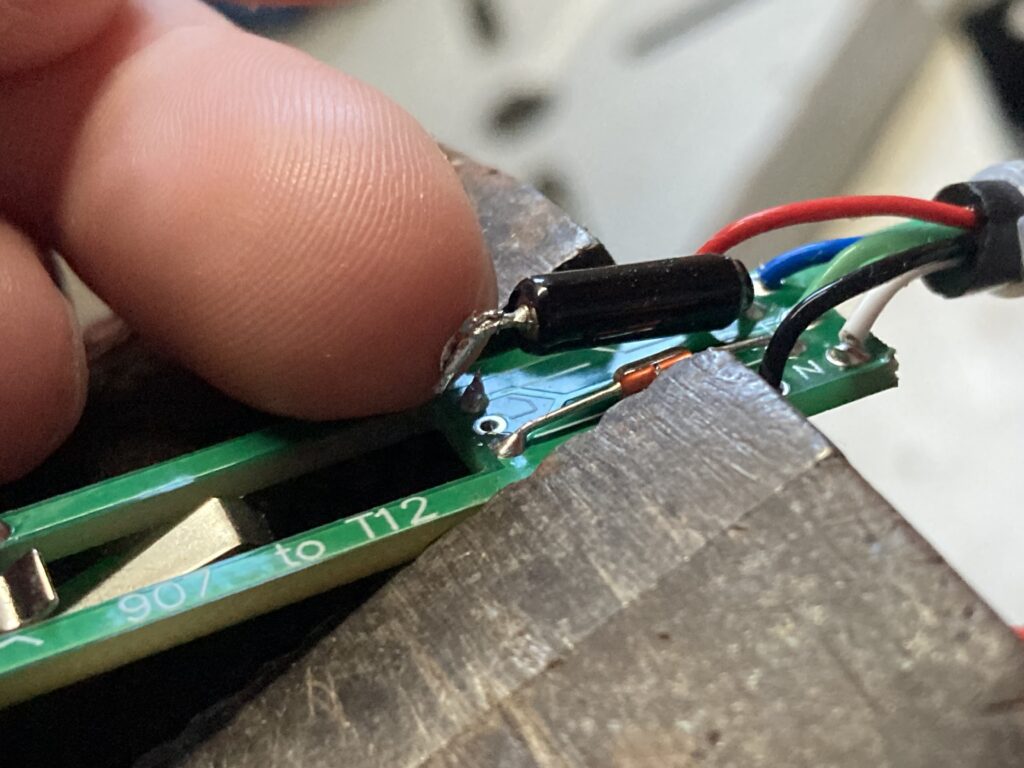
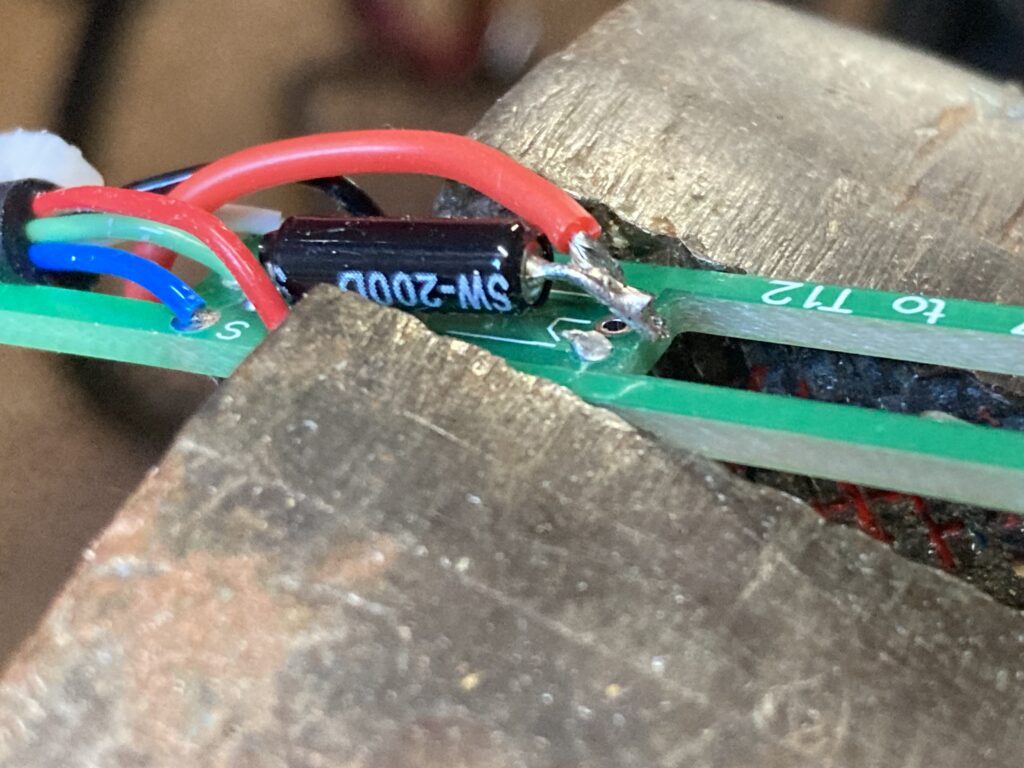
Now you can use your other soldering iron to de-solder and pull out the lead connected to the green wire (E) like shown below.
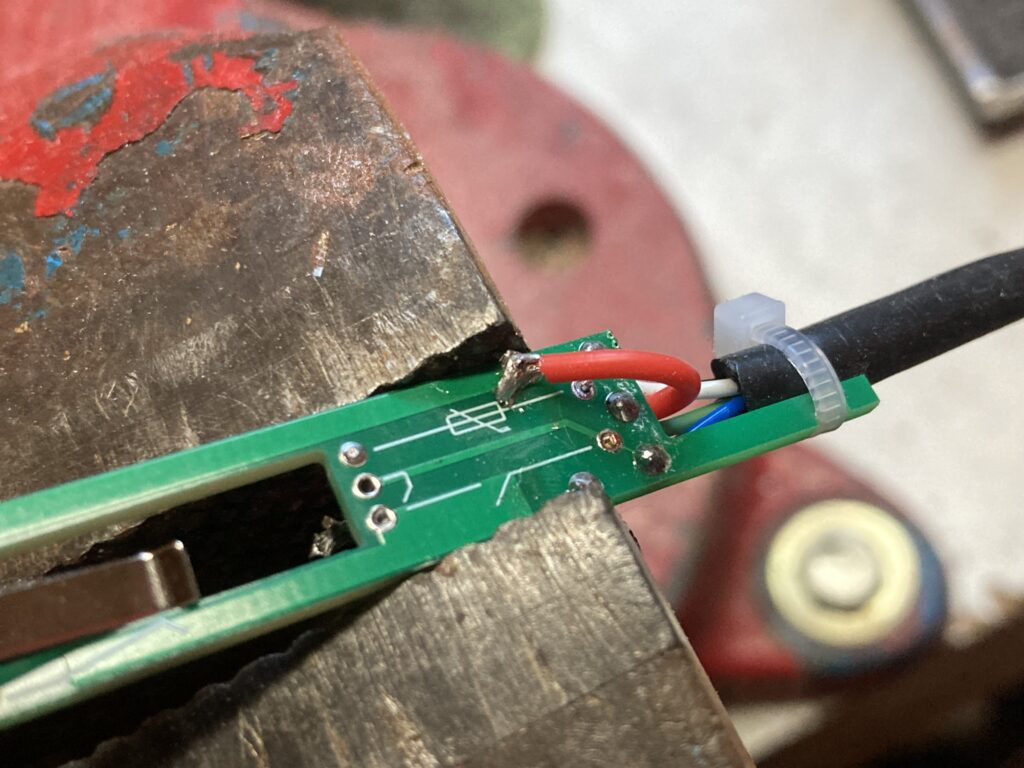
Once that side is removed, cut a small piece of insulated wire, (1-1.5 inches) and solder one side to the unconnected end of the shake switch.
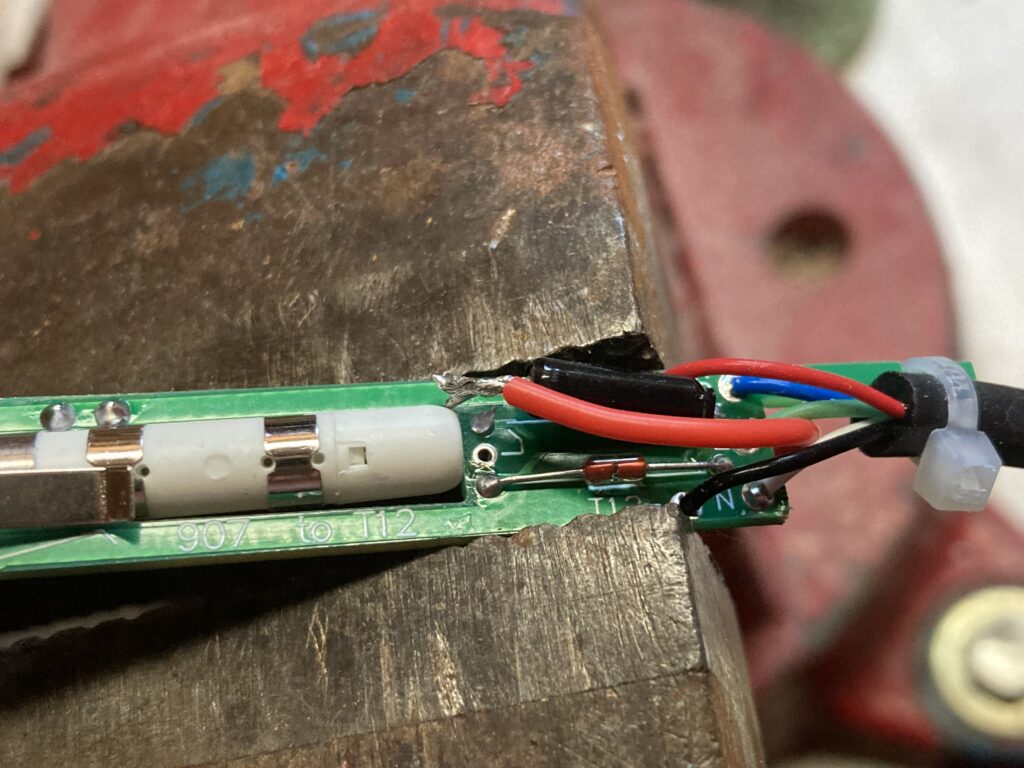
Now, run that wire to the underside of the board (make sure you put the wire in an area that does not stop you from putting the handle back together). I ran my wire in between the cable wires so I would still be able to slide the PCB assembly back into the handle. You can now locate the black wire (T12-), and solder the end of your wire to it.
Your repair is almost complete! Before putting the handle back together, check to make sure the T12 soldering tip can still slide all the way down in the PCB. If the shake switch lead is in the way, simply bend it out of the way!
You can now slide the PCB assembly back into the handle, and screw the top of the handle back on, making sure everything fits as normal.
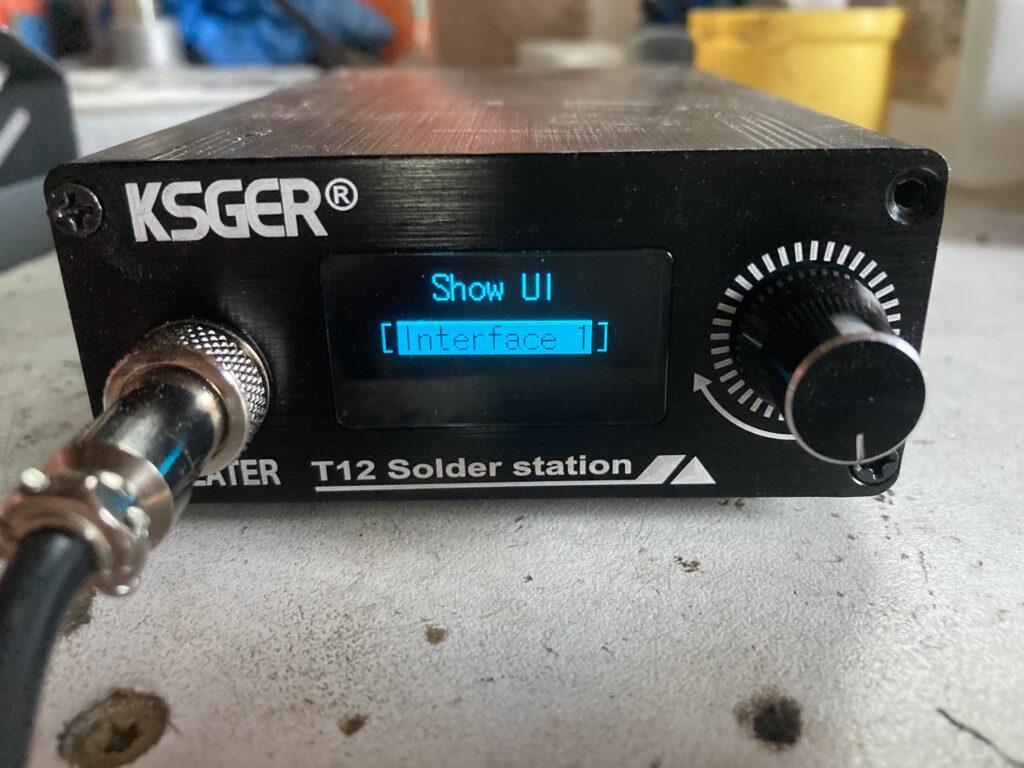
Your repair is now complete! If you have set the “Show UI” setting to “Interface 1”, a white dot will appear when you shake the handle. This means the control board is registering that the shake switch is turning on and off. If your soldering station goes into standby mode, you will be able to move the handle to “wake” it back up!
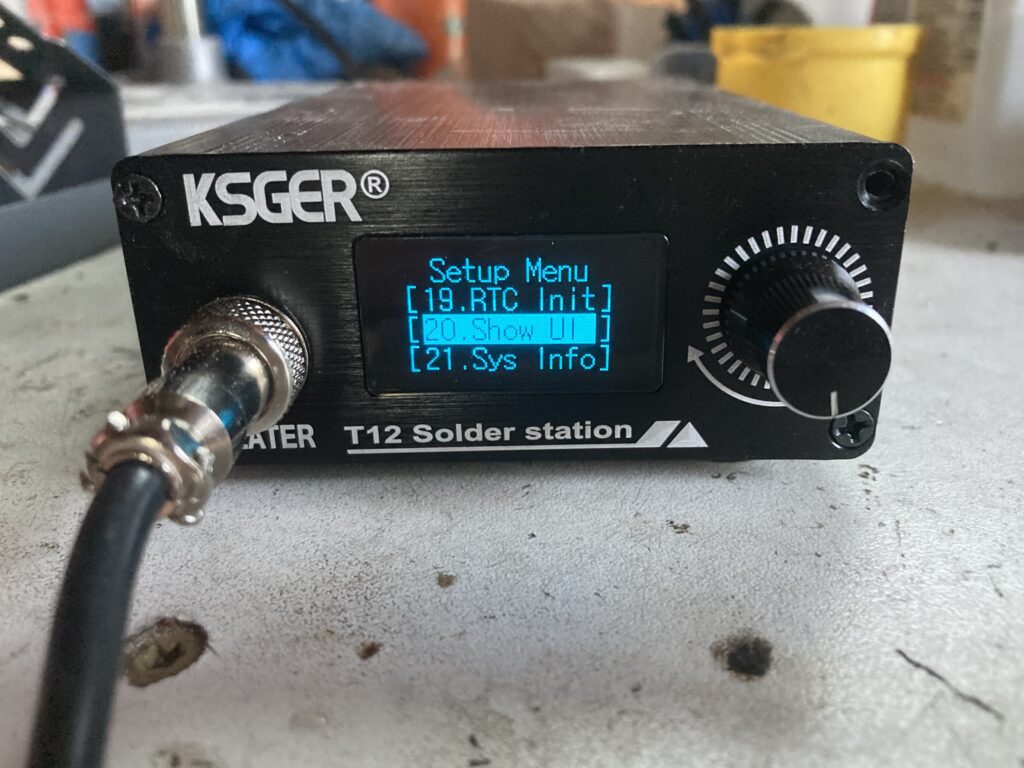
How to set the soldering station UI to Interface 1:
Tutorial Troubleshooting Tips
If this repair did not work for you, you may have not made the right connections in the soldering iron handle.
- Check to make sure you connected the end of the shake switch (closest to where the soldering tip goes) to T12- using a wire. if you connected it to T12+, it will not work.
- Make sure the desoldered end of the shake switch is not making contact with anything else besides the wire you soldered it to, and check that the wire is only connected to it and T12-.
- Listen for a rattle in the shake switch when you shake the whole handle. If you don’t hear the rattle, the shake switch may be defective.
If you are still having trouble, please leave a comment below, and I or someone else may be able to help.
We do carry the SW-200D shake/tilt switch used in the V3.1S handle, If you think you need a replacement or just want to use one for your projects. You can find that below.


Leave a Reply