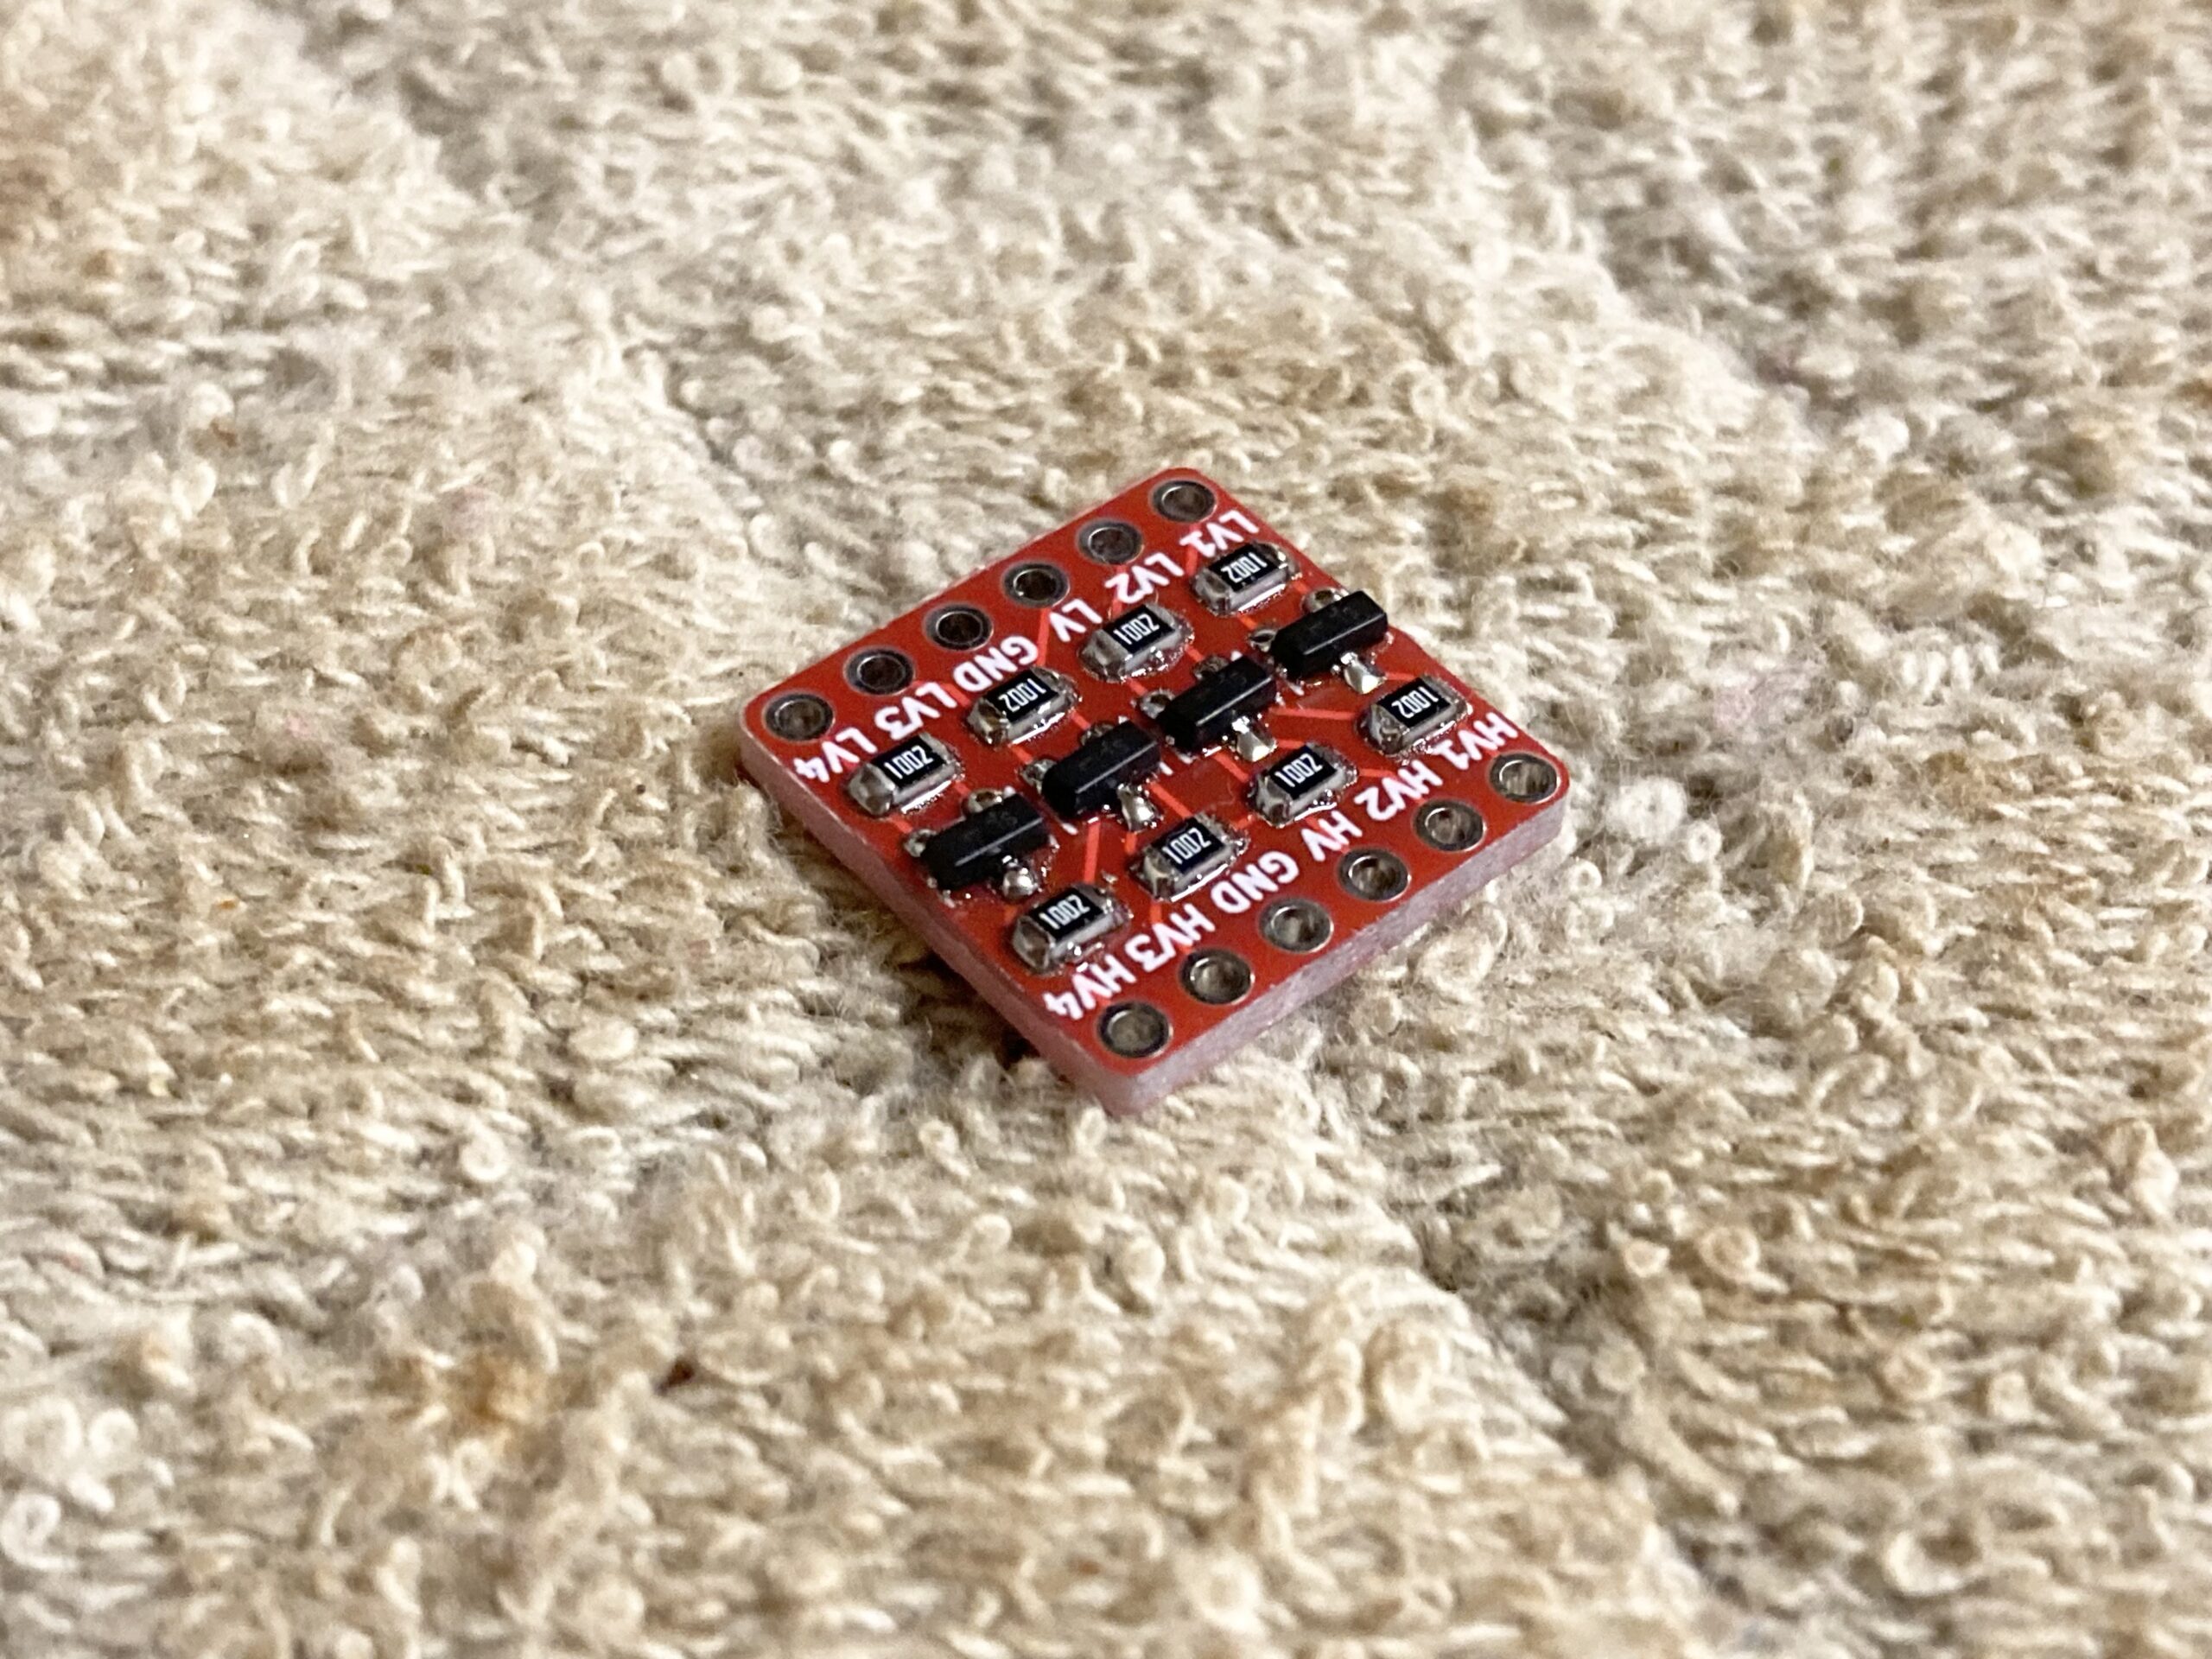
If you have ever needed to solder a PCB with lots of tiny SMD components, or even a whole panel, you know how hard it can be with a bulky soldering iron and tip. But if you have a stove top at home and a pan, you too can make professional SMD PCB’s much faster and easier.
Needed Materials:
- The thickest pan you can find (to help evenly distribute the heat)
- Stove-top / cook-top
Optional Materials:
- Tin foil / Aluminum foil (to keep your pan clean)
- Lid for your pan
- Small fan
Notes
Before we start, we need to go over a couple things. This is not a very precise process as I don’t try to follow any heat curves, but it should work fine for most components and/or solder. If you didn’t know, solder paste is a bunch of microscopic solder balls suspended in flux, so when it is heated up enough, this flux will release toxic fumes that we need to be careful not to breathe in. That said, make sure you have multiple windows open for good ventilation. Remember that THT (through hole) components should be hand-soldered after reflowing soldering all of your SMD components so they don’t stand in the way of the board and stove.

Instructions
To start, put your pan on the stove and optionally lay a piece of tin foil in the pan to protect it from flux if you plan to still cook with it. Then heat your pan up mid way to the highest setting, 5 out of 10 worked for my stove. (Given that this tutorial uses solder paste with a low melting point, 138C. Solder paste with a higher melting point will need a hotter setting)

Once the pan has heated up, place your PCB(s) components face up in the pan/on the tin foil and optionally cover it with the lid. The lid will keep the heat in the pan like an oven to more efficiently and quickly heat the solder. If the pan is already hot enough, the solder should quickly start to melt. You may need to use a test PCB to test out different heat levels of your stove top.

Once all the solder on all the pads has melted, you can use tweezers to quickly remove the PCB(s) from the pan, being careful to not move any of the components as the solder will stay melted for a while longer. At this time, you can push any components that didn’t get “sucked” into place, onto their pads. After that, I like to use a fan to quickly cool off the PCB’s, but if you don’t have one you can blow on them. Just be careful not to get burned as they don’t cool down quickly on their own.

Double Sided PCB’s
If you need to solder components on both sides of your PCB(s), it isn’t much trickier. You can repeat all of the steps above, soldering one side of the PCB (recommended to solder non sensitive components first). Then you can put solder paste and place components on the other side of the PCB, putting that new side up on the pan, repeating all of the above steps again. The soldered components facing down will be held on by the surface tension of the solder. Just be careful when pulling the PCB(s) off the pan, as you don’t want to shift the components on either of the sides.
Conclusion
As long as you didn’t heat your pan up too hot, and didn’t leave the PCB(s) on the heat for too long, all of the components should still be in working order. If you need to solder any through hole components, now is that time. Through hole components will need to be hand-soldered. If you have any questions or feedback, please leave a comment below!


Leave a Reply